Miss G. arrived home late last night from college and we get to keep her for a full month. She doesn’t seem to be flunking out and seems to be adjusting to college life quite well. That makes me so happy.
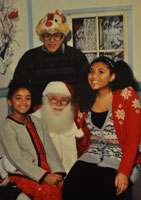
It’s wonderful having all of the kiddos home for Christmas. Today was our annual pilgramage to downtown Seattle for Santa pictures, lunch and carousel rides with my nephew, Ben, and friend, Molly. Mr. D. decided the Santa picture needed a theme this year and chose an “awkward” family motif with ugly sweaters for all and weird hair. The crowning touch was Mr. D’s chipmunk hat and fake engineer glasses. As you can see, he definitely suceeded in staging an awkward family photo. I’m just happy to have a photo with all three kids in it.
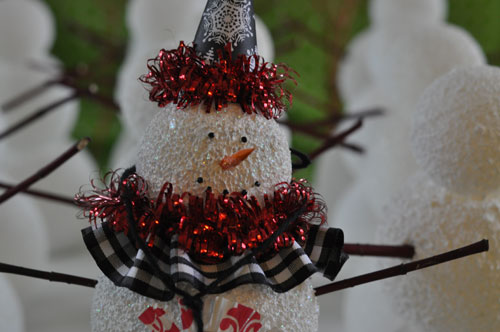
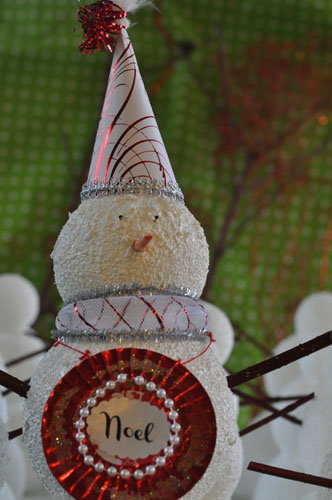
Christmas is three days away and I, of course am still behind in everything….the Christmas cards are going to be New Year’s cards this year. However, I actually did have Coco’s Mother/ Daughter Christmas Party this past Thursday. Last year we made anthropologie-type octopii; they turned out adorable, but I was still scrubbing off dried papier mache goop months after the party. This year, we made cute snowmen from styrofoam balls. I pre-assembled and coated the snowmen and left the decorating to the kids and moms. Seven year olds definitely need a mom helper with this project. Styrofoam Snowmen – cute, easy and goop free.
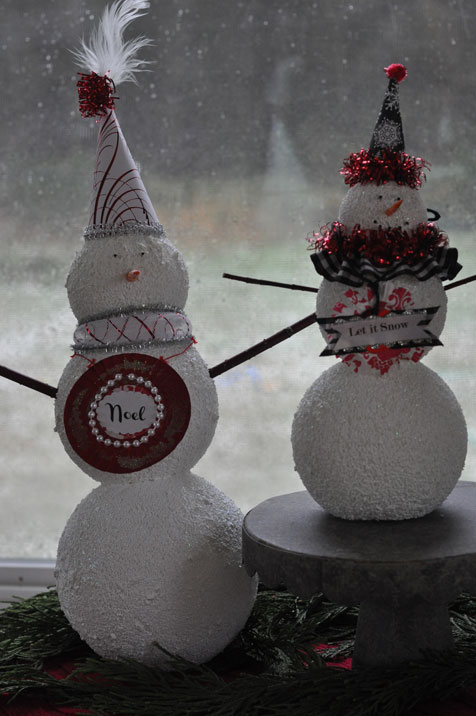
How To Make An Adorable Styrofoam Snowman
For each snowman:
- (1) 4″ styrofoam ball
- (1) 3″ styrofoam ball
- (1) 2″ styrofoam ball
- (2) toothpicks
- elmers glue or hot glue
- modge podge
- liquid white acylic paint
- liquitex white opaque flakes texture gel (I don’t think necessary, but it did add texture…)
- sparkly clear glitter
- paper for cone hat (here is cone hat template)
- Christmas words (here is a Christmas words pdf)
- (2) 2-1/2″ to 3″ twigs for arms
- (7) or more pins with the heads painted black
- end of bamboo skew (about 1 1/4″) painted orange and glittered. If you are making more than (2) noses, just whittle pieces of the bamboo to have a point.
- ribbon, tinsel, pompoms, decorative mini cupcake wrappers, buttons, rick rack, sparkly paper, string……
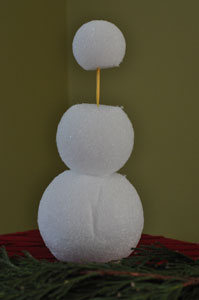
The first thing I did was cut off a tiny bit of the 3″ and 4″ balls on each side with a bread knife so the snowman would stand up and would stack together nicely. Trim just one side of the 2″ ball. I then glued together and dowelled together (with the toothpicks) the three balls as shown to the left. Let them set. Push twigs in for arms where they will go, but remove to coat.
I then made a mixture of half modge podge and half white liquid acrylic paint with a bit of the white opaque flake gel thrown in. I’m sure there are other ways to coat the snowman – this is just what I came up with and it seemed to work. I then slathered the mixture on to thoroughly coat the styrofoam and then liberally sprinkled with glitter. Stick twigs back in. Wait to dry.
Use cone hat template to make hat from your chosen paper.( I just cut the template out of manilla folders). Decorate the hat as desired.
Push pins in for eyes and mouth. Push in nose.
Decorate neck as desired. Make a fancy Christmas word necklace with your desired word. Use one from the Christmas word pdf if so desired.
Just a word of advice: Hot gluing is easier than elmer’s gluing…and seven year olds do need a helper…..


Leave a Reply